Welcome to Digital Technology Solutions, In todays post we will talk about Nimbles snapshot technology and cloning options. I received a call from a client today and a user deleted about 20GB of data from a primary share and thought all was lost... Well with Nimble snapshots and cloning features it's never been easier to restore data or a whole server. I decided we would go ahead and reattach the server to VMware vCenter and check out the data from a given snapshot. The images below are from the clients production environment. The process took around 15 minutes to complete, this same process can be used to test production servers with patches or a IT persons best friend service packs (NOT).
I hope you enjoy.
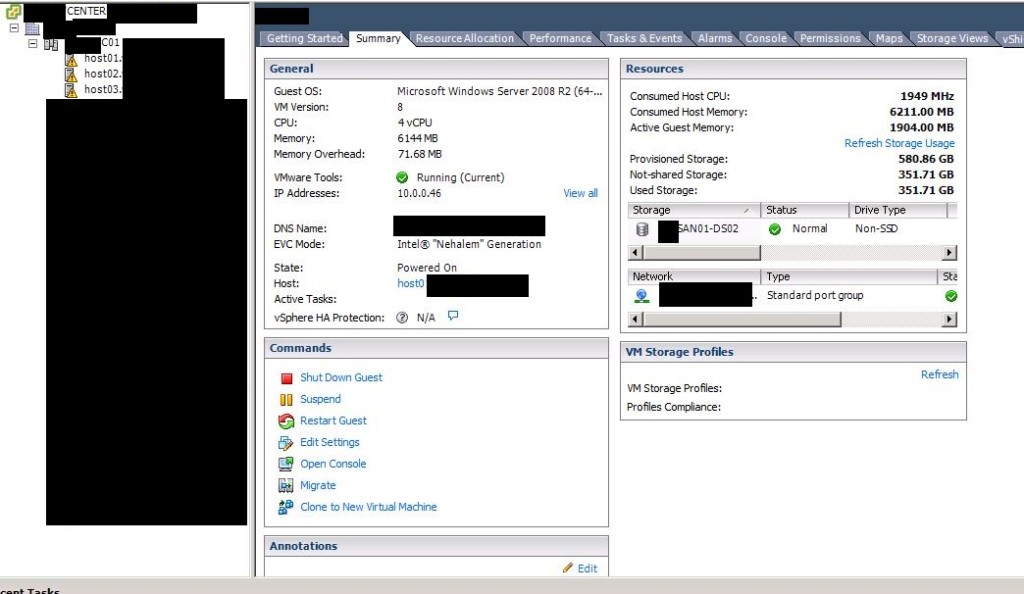
- We had to first find which volume our data is stored on.
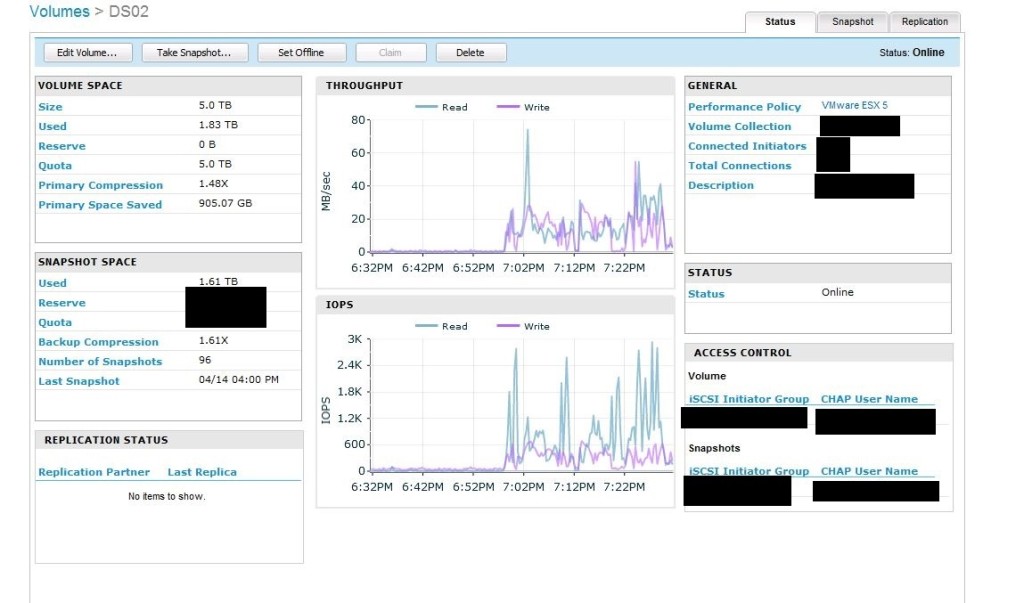
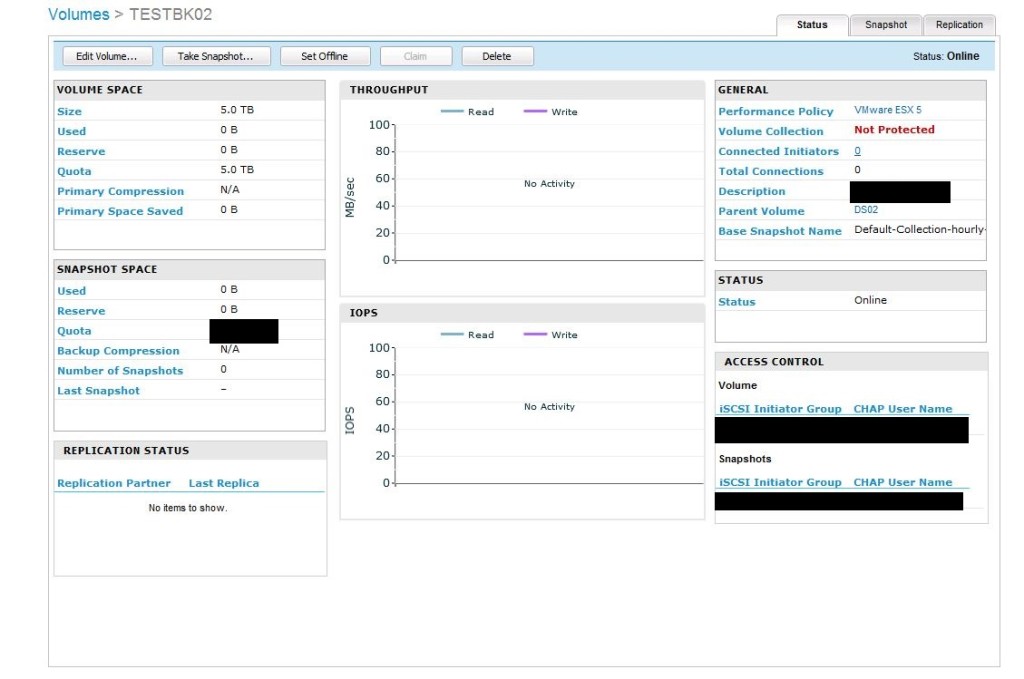
- Once located login to the Nimble web management console and select manage-volumes.

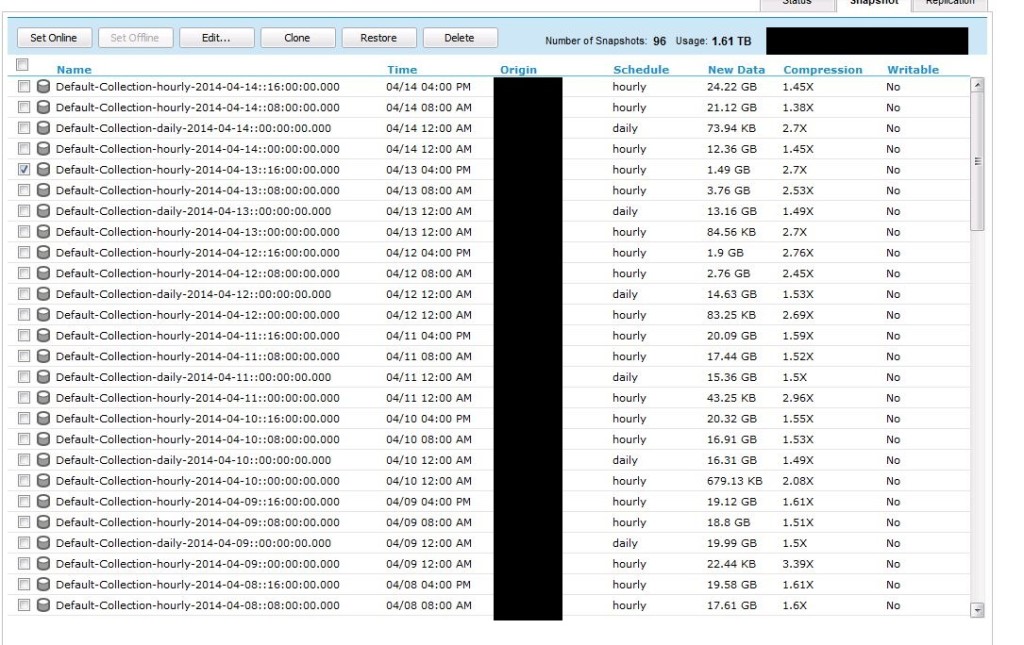
- Click on the volume in question and select snapshot in the top right corner.
- At this point we have two options we can set a read only copy online for review or clone the volume to a new volume, We selected to clone the volume for testing. This client currently has hourly and daily snapshots enabled with a retain of 2 weeks of hourly's and 3 months of daily's. Since the data lost happened yesterday we selected 2014-04-13::16:00:00.00.
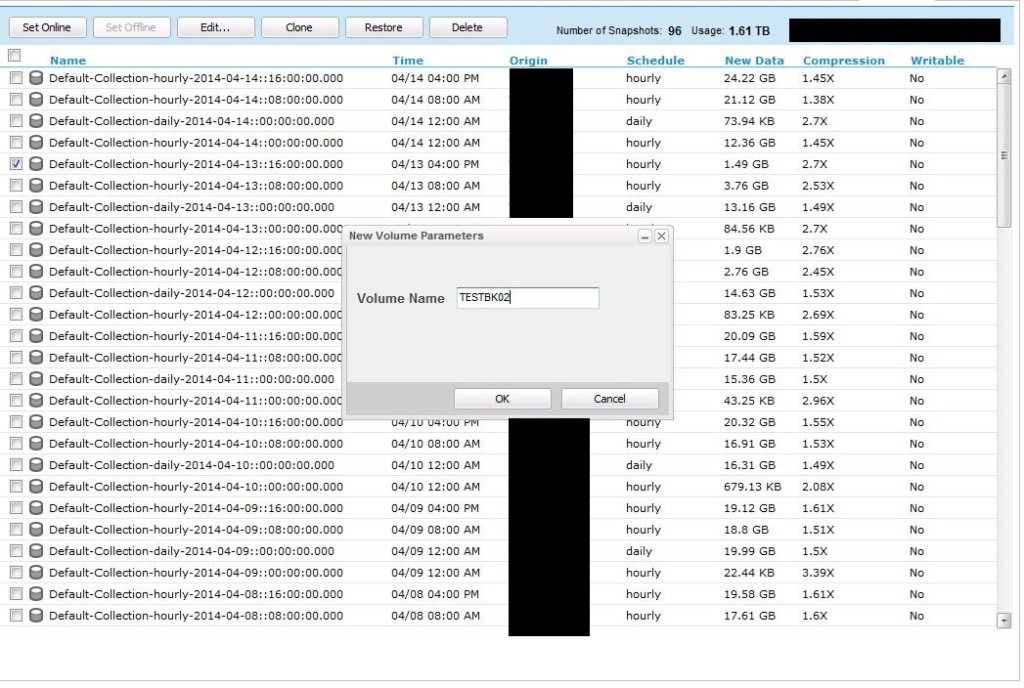
- Once selected click Clone and type a given name.
- Once the volume is created you can now refresh storage inside of VMware and mount your LUN. All the settings but the volume collection are copied from the parent volume.
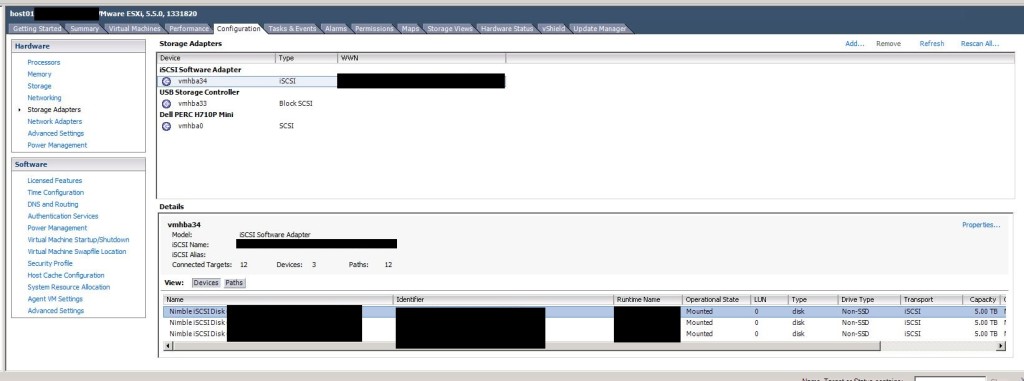
- login to your vCenter system and click on configuration for one of your host servers, under storage Adapters click rescan all... in the top right. This command rescans the storage environment for new LUNS to mount.
- Once completed you can now add the LUN to the host server, by clicking storage and clicking add storage.
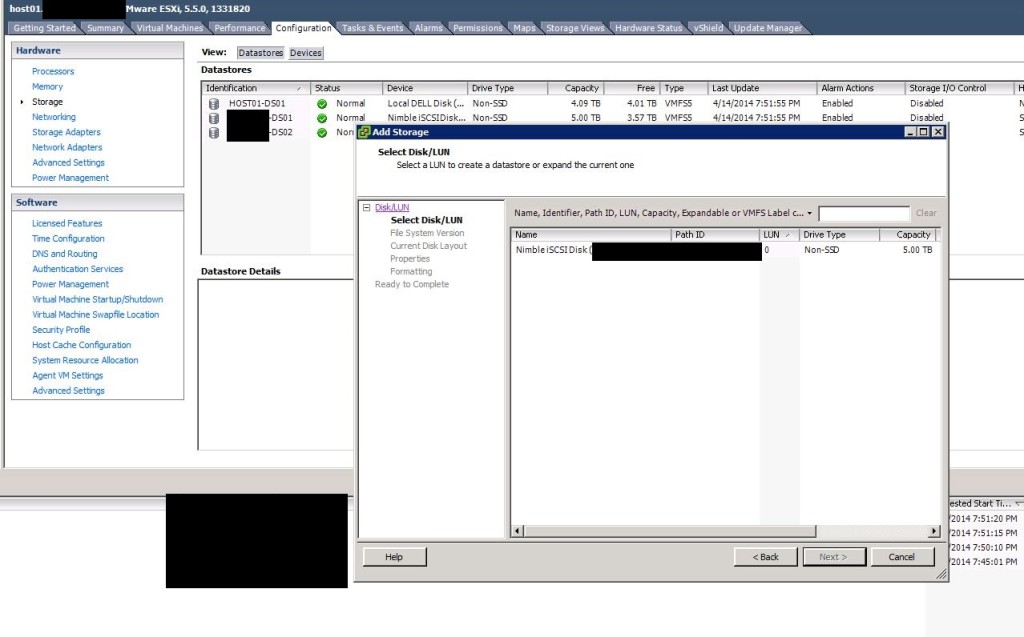
- I recommend assign a new signature to the cloned datastore so it doesn't cause any issues within the current setup.

- After you mount the LUN you can now reattach the VM in question and rename it.

- DO NOT TURN THIS SERVER ON WITHOUT CHANGING OR REMOVING THE NIC... I decided to create a test network without any NICs plugged in for safety reasons. Once again DO NOT turn this VM on without changing the NIC settings.

- Once turned VMware will ask if you moved it or copied it. I selected copied it.
- You now have a working copy you can restore data or Install the famous service pack and watch it blue screen ha-ha

Nimble has some of the best features around check them out below. Also it's bar non the fastest array I've ever had the pleasure to work with. Nimble just rocks!
http://www.nimblestorage.com/products/features.php
If you need 99.999% up-time and need local support in Northern California and Nevada, give us a call @ 775-552-3611. As always, our services are guaranteed and best yet no monthly contracts! So call and ask about a free 30 day trial.
Now servicing Minden, Reno, Gardnerville, Carson City and South Lake Tahoe.



Jonathan Young
I created a new network inside VMware and added the NIC to the production server and placed the restored VM in the same next network.
Or you can map it to a MGMT server and pull the data you need. If you have any questions please feel free to contact me directly at 001-775-552-3608
Thanks!
Calvin
How did you then restore the 20GB of data back to the live server as the restored server is not connected to the same network as the live server?